If you already know how to load an STL, pick a material, and hit slice, you're past the beginner stage. Now the real work starts. Advanced slicing software and G-code in India 2026 isn't about clicking default settings in Cura and hoping the print comes out fine. It's about understanding what the slicer is actually telling the printer to do, which settings matter most for strength, finish, and speed, and how experienced operators reduce failures before the print even begins. Here's the thing: most print issues blamed on the machine are actually slicer decisions. If you want better output in a college lab, prototyping setup, or production support role, this is where your skill level jumps.
What does slicing software actually control in a professional workflow?
Slicing software converts a 3D model into layer-by-layer instructions. That sounds basic, but what most people don't realize is that the slicer is where print economics are decided. Print time, filament usage, support waste, dimensional accuracy, surface finish, and even machine wear are influenced here.
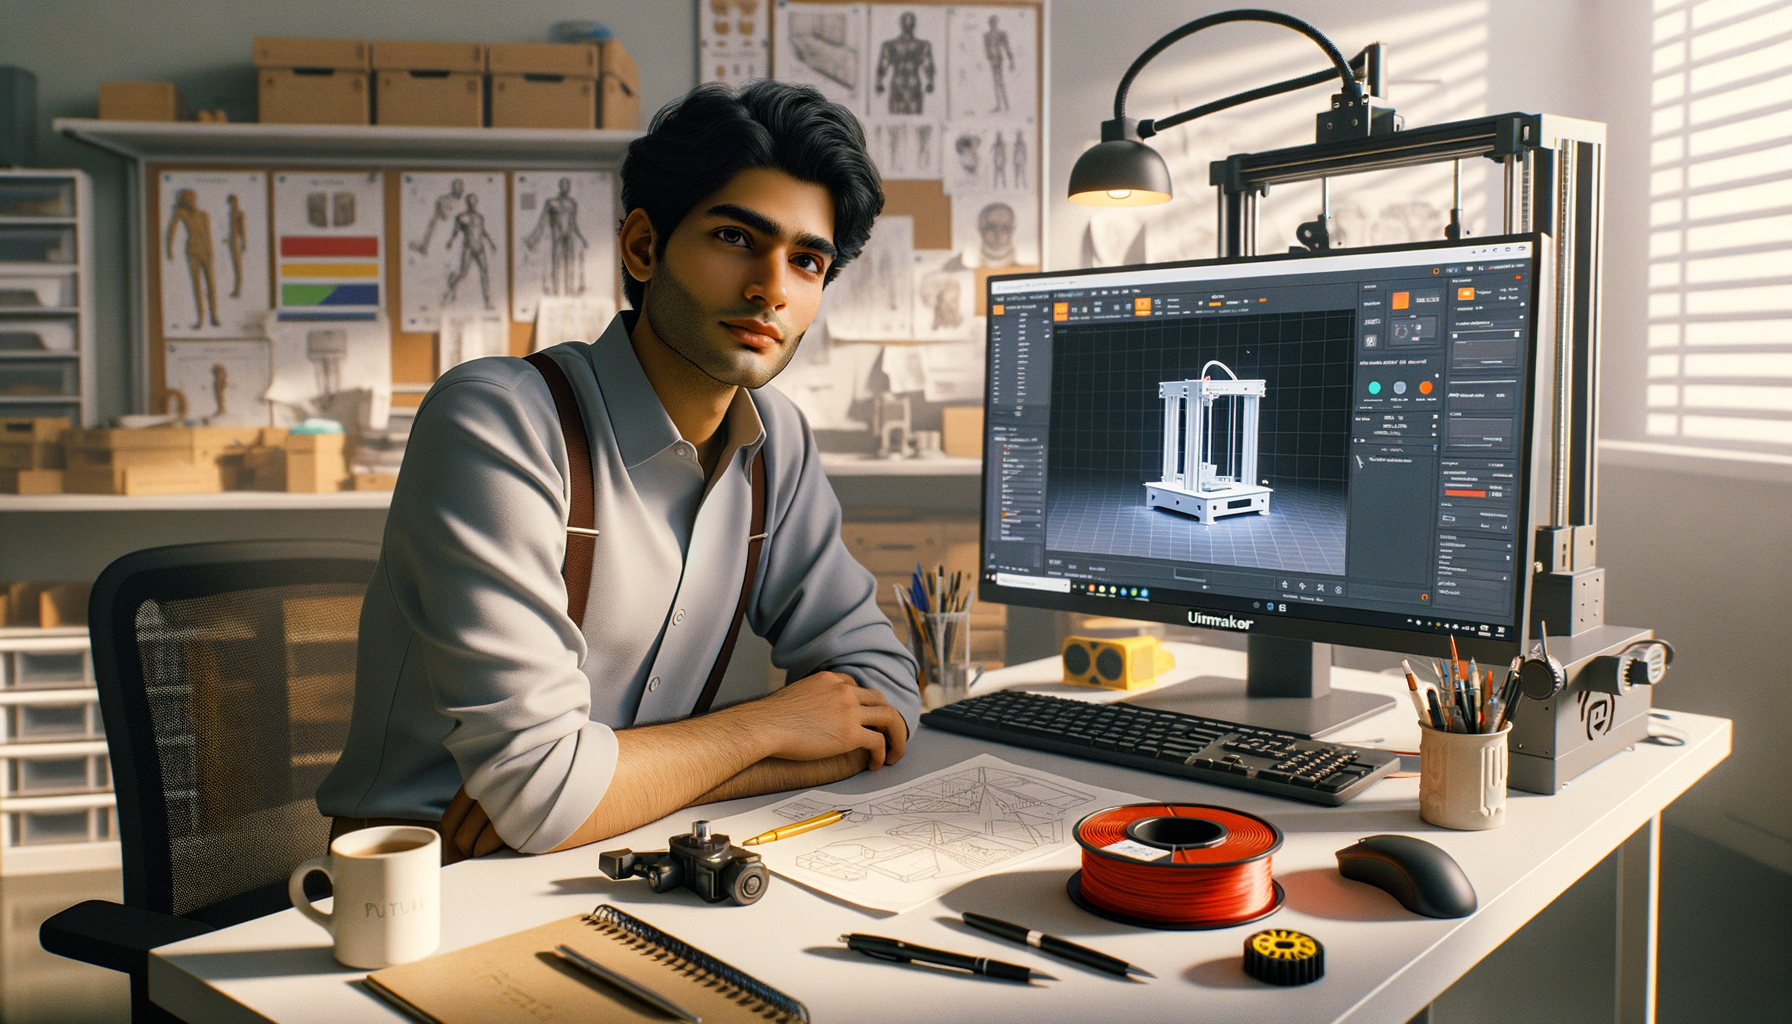
In most Indian training labs and entry-level industrial setups, Ultimaker Cura is still the most common choice because it's easy to start with and deep enough for serious work. But once you're working beyond default profiles, you need to think in systems: nozzle size, layer height, wall strategy, infill logic, support density, acceleration behavior, and start-end G-code all work together.
If you're preparing for roles in prototyping teams at companies like Tata Technologies, Mahindra Engineering, Bosch, or Siemens vendors, you'll be expected to justify why you used a certain profile, not just say, “Cura recommended it.” Trust me, that difference matters in interviews and on the job.
Which advanced Cura settings matter most after the basics?
The good news is you don't need to master every hidden option in one go. Focus first on the settings that change print quality and reliability the most.
Layer height and line width strategy
Beginners usually set layer height and stop there. Advanced users pair it with line width. For example, a 0.4 mm nozzle doesn't always need 0.4 mm line width. In many practical jobs, 0.42 to 0.48 mm line width improves bonding and reduces tiny gaps. For faster concept models, a 0.28 mm layer height with tuned wall line width can save hours without hurting functional use.
Walls before infill thinking
For strong parts, wall count often matters more than infill percentage. A part with 4 walls and 20% gyroid infill can outperform a part with 2 walls and 40% infill, especially for brackets, housings, and covers. This is one of those professional shortcuts students miss.
Top-bottom thickness
Pillowing on top surfaces usually means your top layers are too thin for the chosen infill pattern and layer height. Instead of only increasing infill, increase top thickness smartly. For a 0.2 mm layer height, 1.0 to 1.2 mm top thickness is often safer for cleaner closure.
Speed by feature, not one number
Don't run one global speed for everything. Outer wall speed should usually stay lower for surface quality, while infill can run faster. If your machine is stable, you might print outer walls at 30 mm/s, inner walls at 45 mm/s, and infill at 60 mm/s. That gives a better finish without stretching total print time too much.
How do professionals tune supports without wasting material?
Support settings separate average operators from skilled ones. In many failed prints, support was either too aggressive or too weak. The aim isn't “more support.” The aim is support only where the geometry truly needs it.
Use support placement carefully. Touching buildplate is better when possible because it reduces cleanup on visible surfaces. Switch to everywhere only when internal overhangs or trapped geometry require it.
Support density should match the part. For standard PLA prototypes, around 10% to 15% is often enough. Increase interface layers before increasing total density if you want cleaner undersides. Tree supports can reduce material use on organic shapes, but for engineering parts with flat overhangs, normal supports may still be easier to predict and remove.
Here's the thing: support Z distance is often the hidden culprit. Too close, and removal becomes painful. Too far, and the underside sags. You need to match it to material and layer height. This is why experienced users save tested profiles instead of rebuilding settings every time.
How should you read and edit G-code for better print control?
You don't need to become a firmware engineer, but you should absolutely understand basic G-code structure. G-code is the machine instruction layer generated by the slicer. If slicing is the planning stage, G-code is the final execution script.
Some key commands advanced users should recognize:
- G0/G1 for movement commands
- G28 for homing axes
- M104/M109 for nozzle temperature set and wait
- M140/M190 for bed temperature set and wait
- G92 for position reset, often extruder reset
- M106/M107 for fan control
What most people don't realize is that start G-code and end G-code can save time and reduce print failures. A good start sequence can include controlled heating order, auto-home, mesh leveling if supported, nozzle priming, and a wipe line. A clean end sequence can retract filament, move the print head away, and cool safely.
If you're running multiple machines in a lab in Pune, Chhatrapati Sambhajinagar, or Sangli, standardizing start-end G-code across machines improves consistency. That's how serious labs operate. It's also the kind of workflow discipline valued by L&T suppliers, Kirloskar manufacturing teams, and prototyping vendors working with automotive clients like Bajaj Auto.
What slicer workflow helps reduce print failures on real jobs?
Advanced users don't slice once and print blindly. They follow a repeatable check sequence.
1. Inspect geometry before slicing
Check thin walls, unsupported overhangs, tiny text, and orientation options. If the model is poor, slicer settings alone won't rescue it.
2. Choose orientation based on strength
Layer direction affects part performance. If the load acts across layers, the part may fail early. Rotate the model for strength first, cosmetics second, and support reduction third when the application is functional.
3. Match profile to intent
Use separate profiles for concept model, display part, fit-check component, and functional prototype. One profile for everything is lazy workflow.
4. Preview every slice
Cura preview is where you catch weak bridging, strange travel moves, hollow top regions, and support overuse. Trust me, two minutes in preview can save six hours of failed print time.
5. Document tested settings
Maintain profiles by material, nozzle size, and machine. Professionals don't depend on memory. They build a library.
Which settings improve part strength, finish, and print time most?
If your goal is stronger parts, prioritize wall count, orientation, and layer bonding before simply raising infill. If your goal is better finish, tune outer wall speed, layer height, cooling, and support interface. If your goal is lower print time, use adaptive choices: larger nozzle where possible, fewer unnecessary supports, tuned infill pattern, and practical layer heights.
For many FDM jobs, these trade-offs are more useful than chasing “perfect quality”:
- Strength: 3 to 4 walls, moderate infill, correct orientation
- Finish: lower outer wall speed, smaller layer height, cleaner support interface
- Speed: thicker layers, faster infill, optimized travel, reduced support volume
This is exactly why advanced slicing is employable skill, not just software knowledge. A trainee who understands these trade-offs can support prototyping teams faster than someone who only knows menu names.
Why does advanced slicing skill matter for jobs in India?
In India, additive manufacturing roles are growing across product design, tooling support, educational labs, and prototype validation. Entry-level salaries for 3D printing and additive manufacturing support roles often start around ₹2.4 lakh to ₹4.2 lakh per year. With solid slicer control, machine handling, and troubleshooting ability, many professionals move into roles paying ₹4.5 lakh to ₹7 lakh, especially in Pune, Bengaluru, Chennai, and Hyderabad.
Companies and service ecosystems connected to Tata Technologies, Bajaj Auto, Siemens, Bosch, Thermax, and KPIT Technologies value people who can reduce print iterations and material waste. That's why slicing and G-code understanding isn't “extra.” It's part of being useful from day one.
If you want guided practice instead of random YouTube learning, ABC Trainings helps students build real software-to-machine workflow skills with industry-focused training in Maharashtra. For course details, call 8698270088 or WhatsApp 7774002496.
How should you practice advanced slicing the right way?
Start with one machine, one material, and one slicer version such as Ultimaker Cura 5.x. Then run controlled tests: wall strength comparison, support gap comparison, speed tower, temperature tower, and orientation trials. Don't change ten settings at once. Change one variable, note the result, and save the profile.
The good news is that advanced slicing is learnable much faster than people think. Once you understand why Cura generates a toolpath and how G-code executes it, your confidence goes up fast. And here's the thing: that confidence shows in interviews, freelance work, and production support tasks. ABC Trainings sees this difference clearly when students move from basic printing to process control.
Which slicing software should I learn first in Maharashtra if I already know basic 3D printing?
Start with Ultimaker Cura because it's widely used, beginner-friendly, and deep enough for advanced work. In Maharashtra training labs, Cura is still the most practical first choice for FDM printing. Once you're comfortable with profiles, support logic, and G-code basics, you can adapt more easily to other slicers used in industry.
Is G-code knowledge necessary for 3D printing jobs in Pune?
Yes, at least at a working level. You don't need to write full programs manually, but you should understand common commands, start-end sequences, temperature control, and movement logic. In Pune prototyping and manufacturing environments, this helps you troubleshoot faster and work more confidently with different machines.
What salary can I expect after learning advanced slicing and 3D printing in India?
Freshers usually see roles in the range of ₹2.4 lakh to ₹4.2 lakh per year, depending on software skill, machine exposure, and city. If you can handle slicing, machine setup, print troubleshooting, and part evaluation well, you can move toward ₹4.5 lakh to ₹7 lakh packages. Pune and Bengaluru usually offer stronger opportunities than smaller cities, but skilled candidates are needed across Maharashtra too.
Where can I get practical 3D printing and slicing training in Maharashtra?
Look for a training institute that teaches full workflow, not just software screens. You should get practice in Cura settings, profile creation, support tuning, G-code understanding, and print troubleshooting on actual jobs. For Maharashtra students, ABC Trainings is one option to explore if you want structured hands-on guidance; call 8698270088 or WhatsApp 7774002496.
Visit Our Centers
Chhatrapati Sambhajinagar
Corporate Office (HQ)
2nd Floor, Kandi Towers, Jalna Road, Amarpreet Chowk, Chhatrapati Sambhajinagar, Maharashtra 431001
Osmanpura Branch
Plot No 14, Shanya Sect, Near Sant Eknath Rang Mandir, Osmanpura, Chhatrapati Sambhajinagar, Maharashtra 431005
CIDCO Branch
Plot No 4, N-3, Cidco, Opp. High Court, Chhatrapati Sambhajinagar, Maharashtra 431003
Pune
Wagholi Branch
1st Floor, ABC Trainings, Laxmi Datta Arcade, Pune - Ahilyanagar Hwy, Wagholi, Pune, Maharashtra 412207
Hadapsar Branch
Bloom Hotel, ABC Trainings 1st Floor, S.no 156/3 Shree Tower Pune - Solapur Rd, Hadapsar, Pune, Maharashtra 411028
Sangli
Sangli Branch
2nd Floor, Vasant Market, Opp. City High School, Sangli, Maharashtra 416416
Start Your Career Journey Today
Join 10,000+ students who transformed their careers with ABC Trainings.
💬 WhatsApp: 7774002496📞 Call: 8698270088