AutoCAD Section Views, Assembly Drawings and GD&T for Mechanical Engineers — Part 3 (Updated May 2026) (Updated May 2026)
I've been teaching AutoCAD to mechanical engineers for over 12 years, and here's the thing — most freshers stall not because the software is hard, but because nobody connects the commands to what actually happens on the shop floor. This third instalment in our AutoCAD Mechanical series is where that connection clicks. The AURIC investment belt in Sambhajinagar brought ₹71,343 crore in manufacturing investment and created 62,405 new jobs — and plant managers at Bajaj Waluj (Plot G-137), Skoda VW Shendra (Plot A-1/1), and Endurance Aurangabad (Plot E-92) expect entry-level engineers to produce section views and assembly drawings without hand-holding. In this tutorial we cover full sections, half sections and offset sections; assembly drawing setup using XREF references; balloon callouts and parts-list tables; dimensional tolerances with limit-fit notation; GD&T frames for flatness, parallelism and runout; and professional plotting using the Page Setup Manager. The video linked above walks through every command live on a real shaft assembly drawing — follow it alongside this article and you'll complete all five skill areas in about two focused hours.

- Part 3 covers section views, assembly drawings, GD&T tolerances and professional plotting in AutoCAD
- AURIC Sambhajinagar: ₹71,343 cr manufacturing investment, 62,405 jobs demanding CAD-ready engineers
- Section views and assembly drawings are tested in nearly every recruiter drawing test at Bajaj, Tata Tech, Mahindra
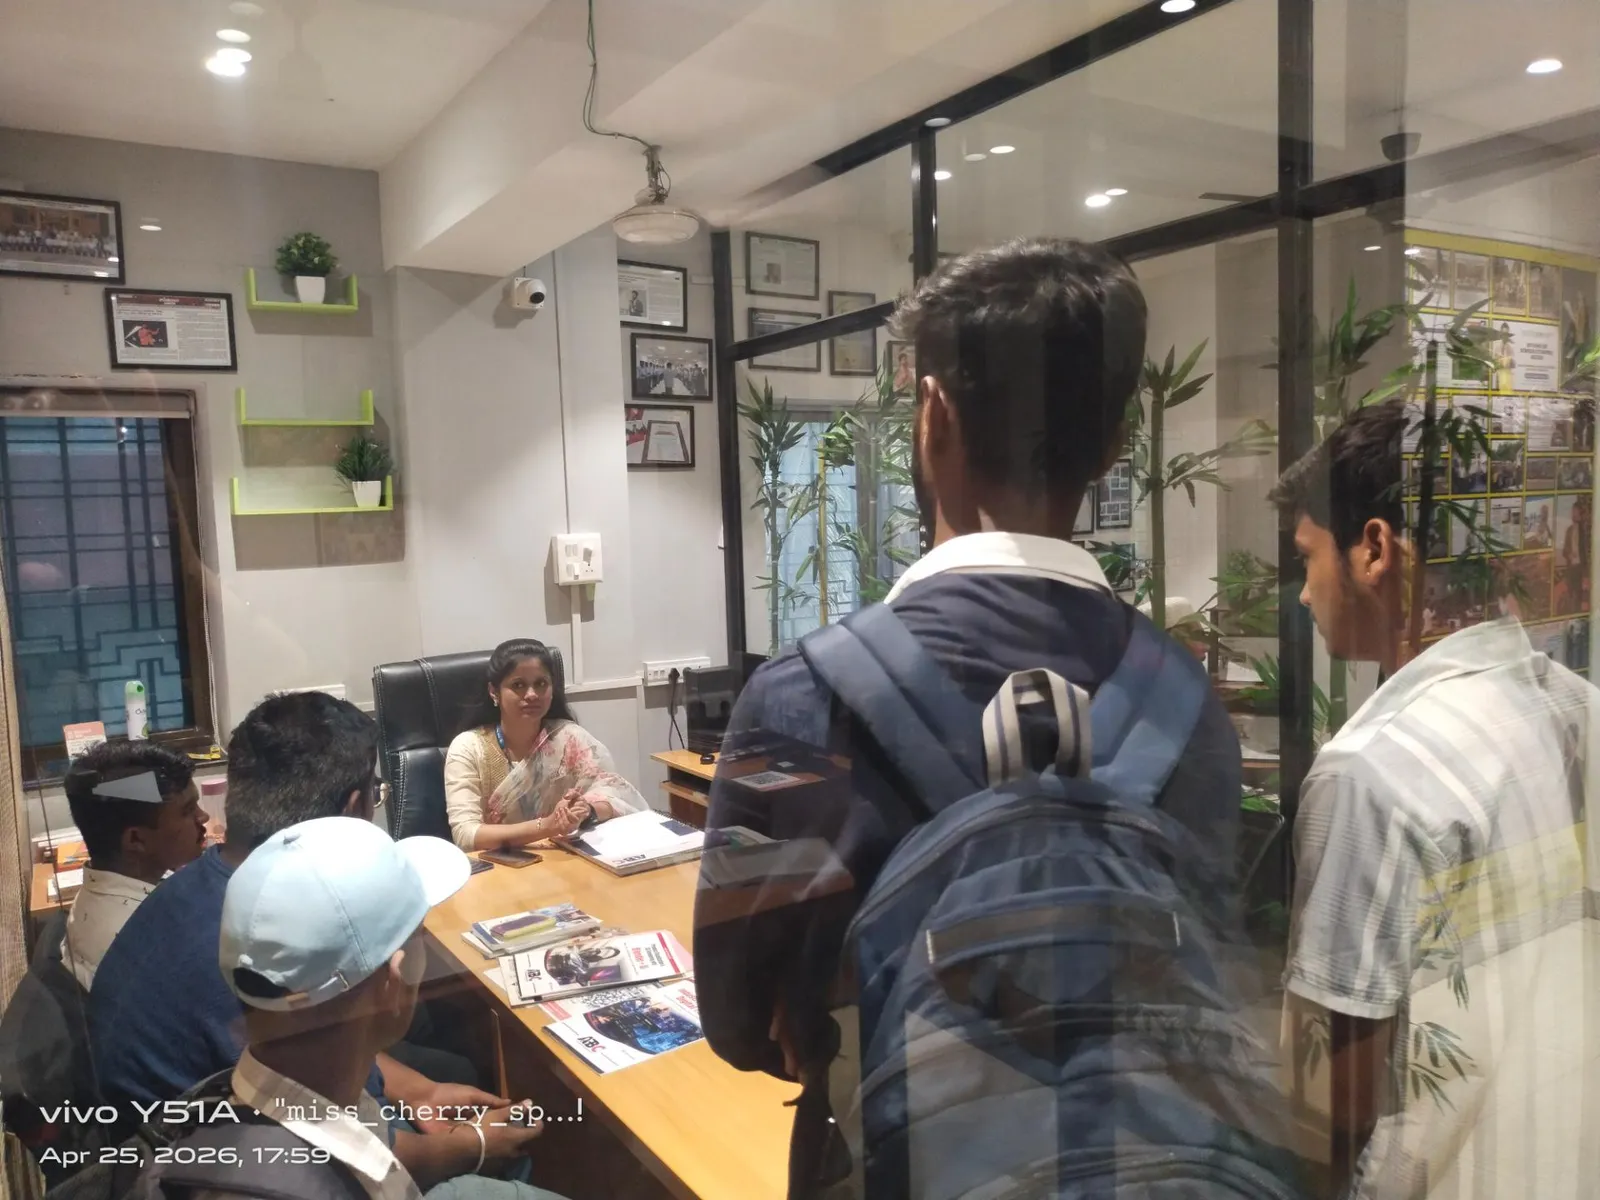
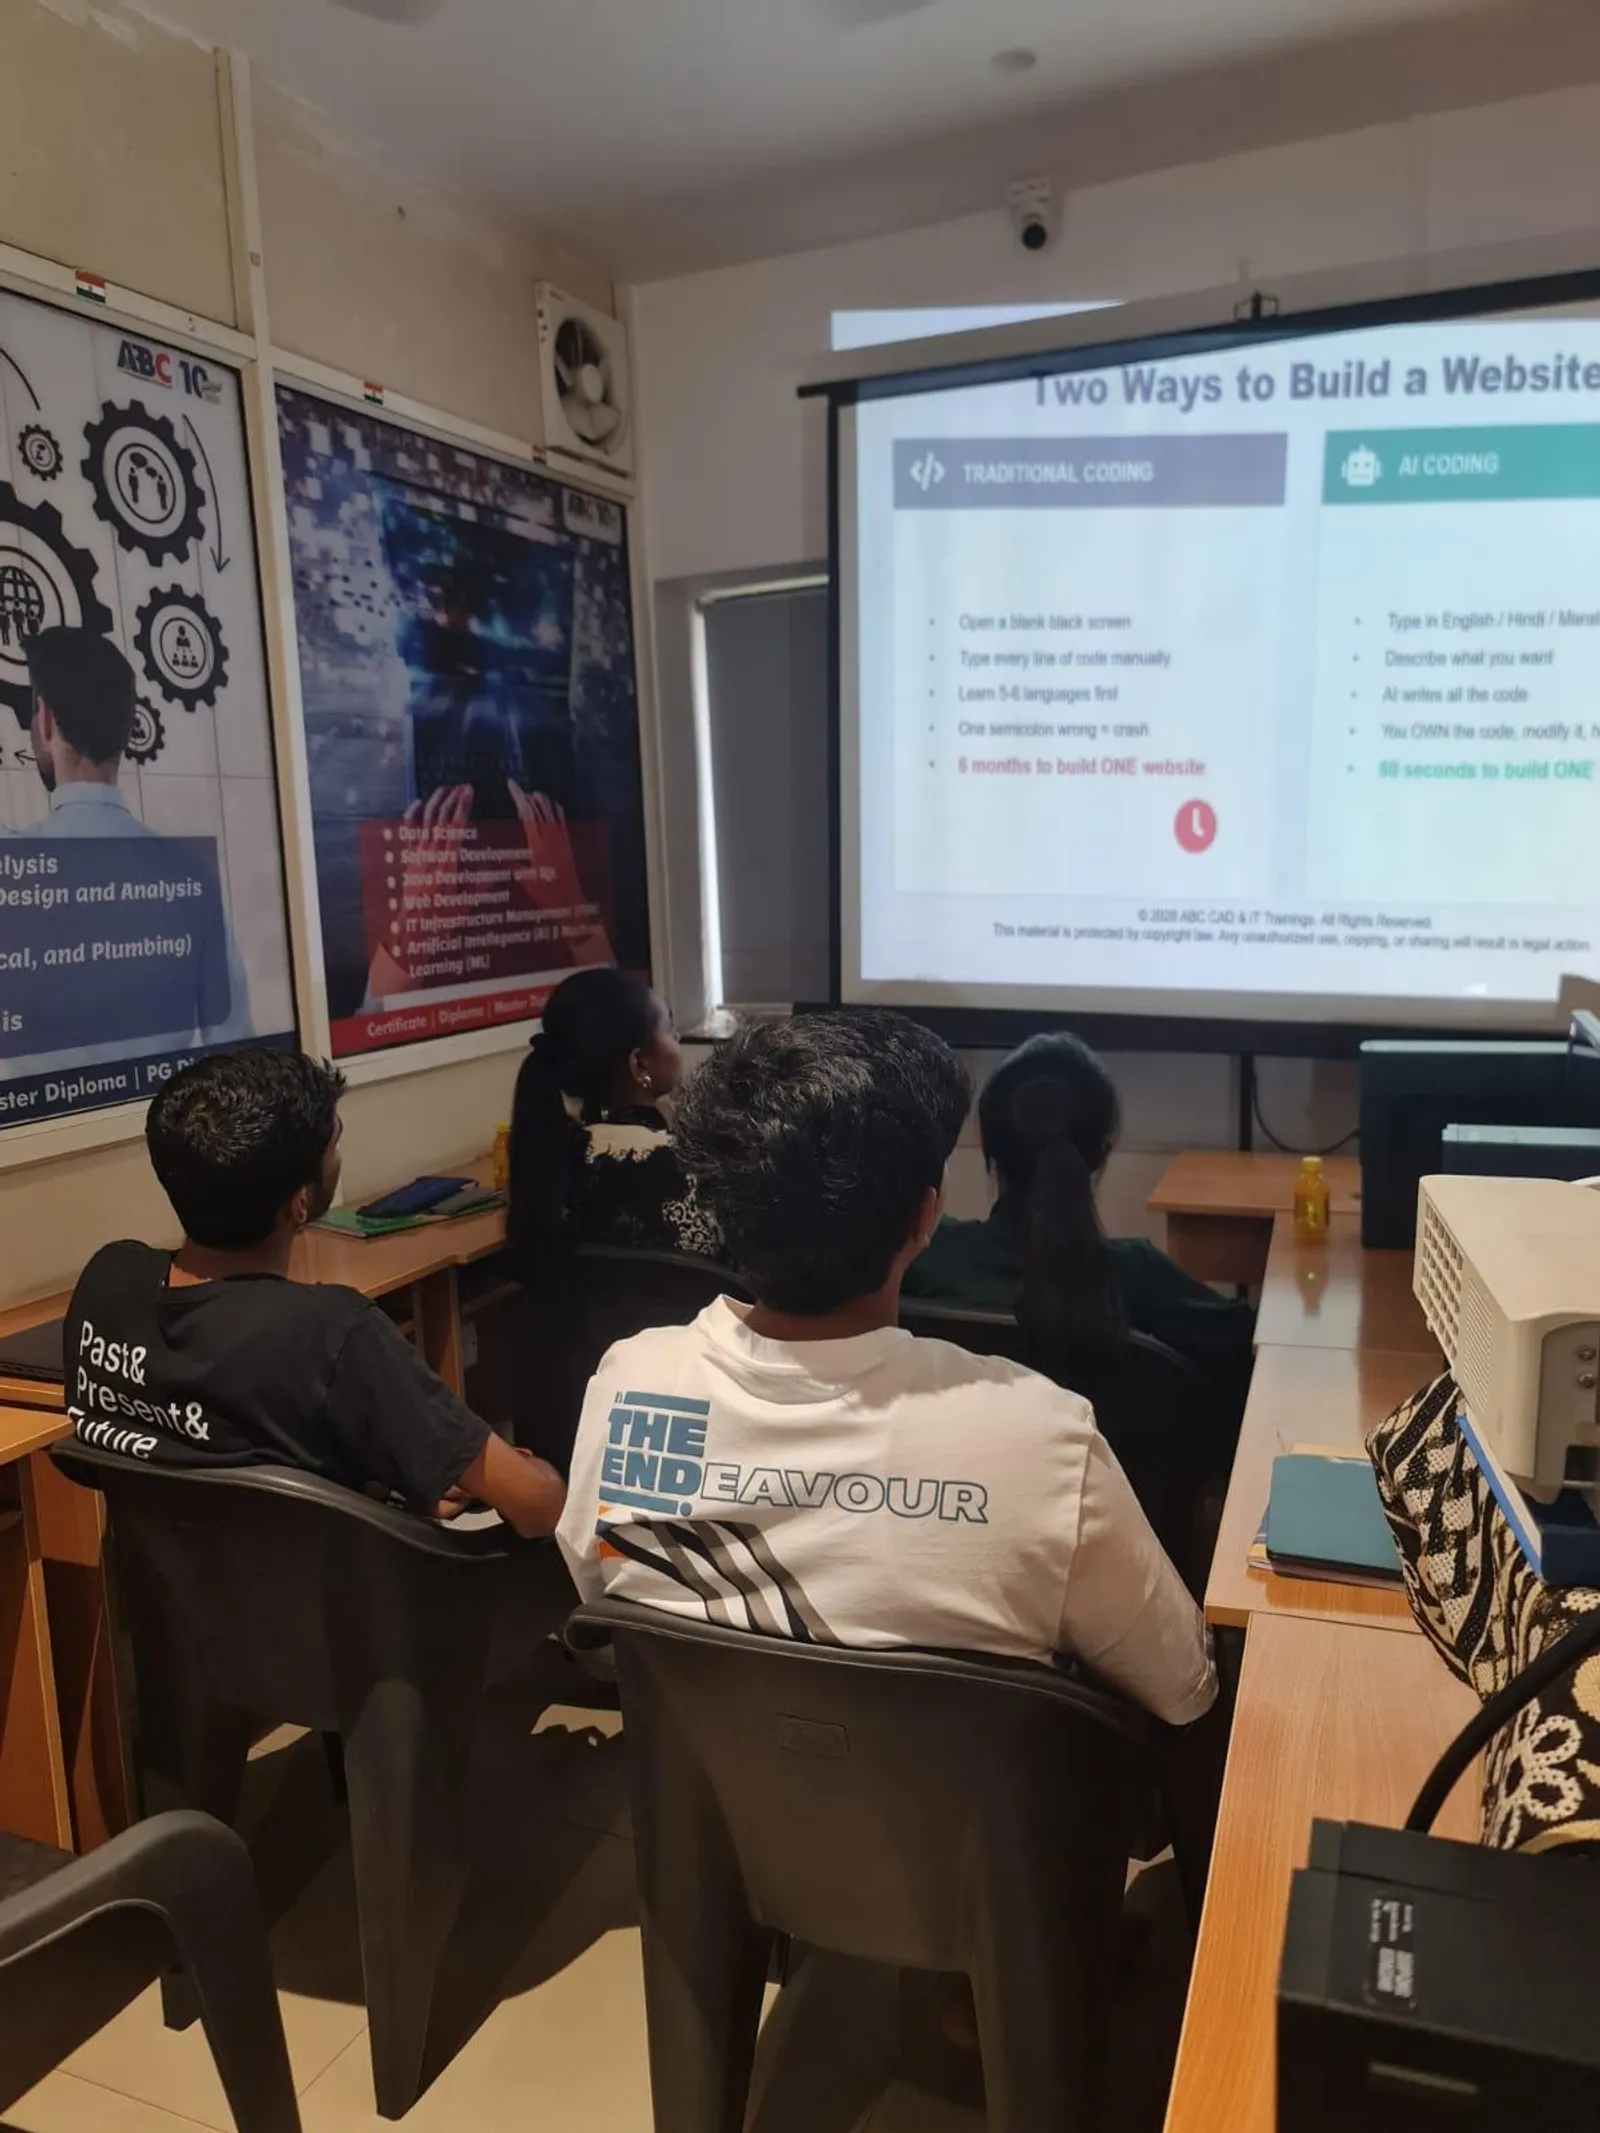
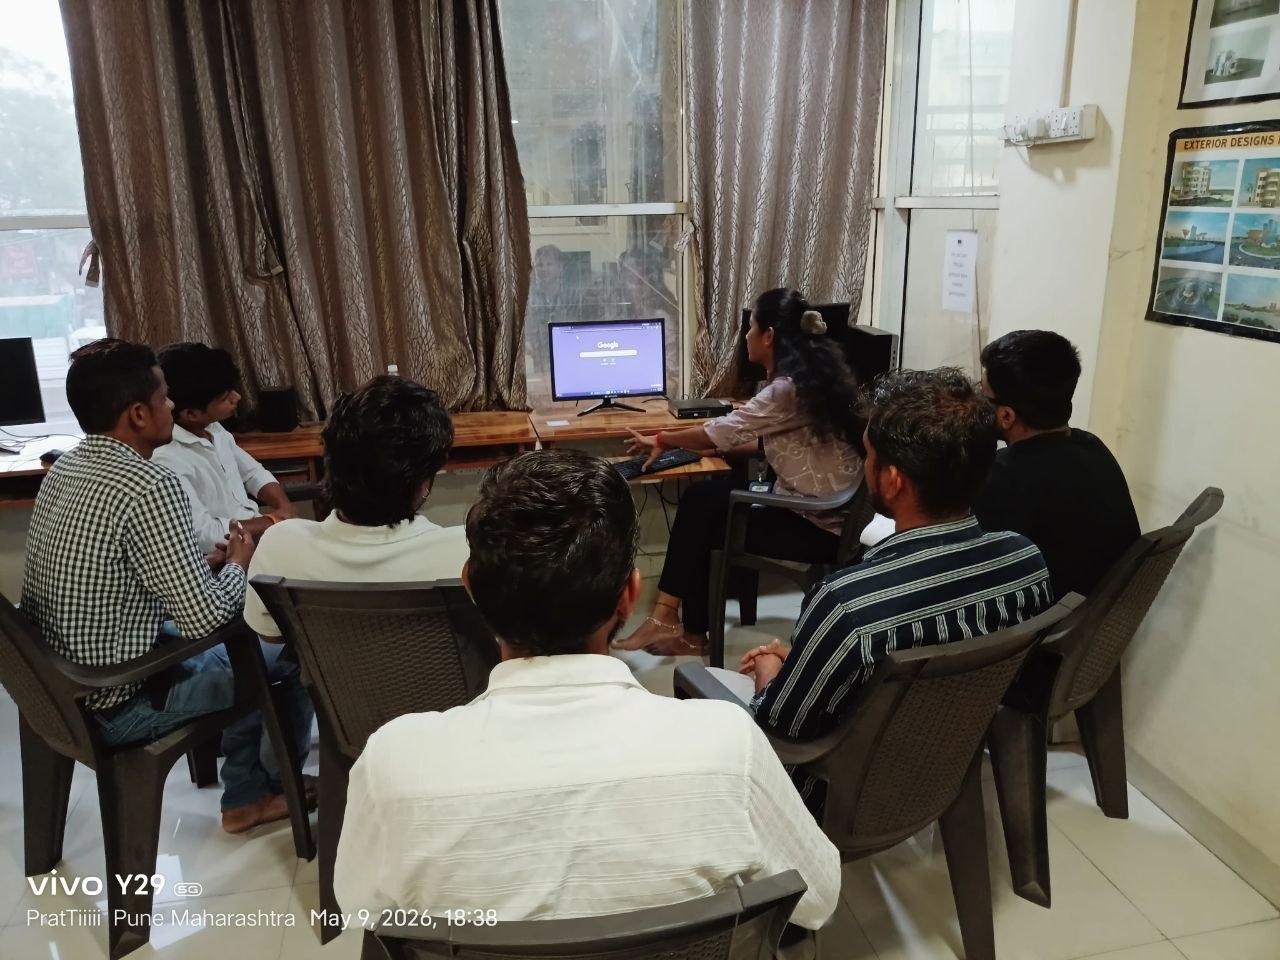
- ABC Trainings runs AutoCAD mechanical batches at Pune Wagholi, Hadapsar, Cidco and Osmanpura every month
- CMYKPY scheme: eligible students get ₹6,000–₹10,000/month stipend — call us to check if you qualify
What Part 3 Covers — and Why Recruiters Test Every Skill Here
If you've worked through Parts 1 and 2, you already know your way around the UCS, basic 2D draw and edit commands, and layer management. Part 3 is where your drafting starts to look like something a production engineer would hand to the shop floor. The five skills here — section views, assembly drawings, balloon annotation, tolerance notation, and professional plotting — appear in almost every CAD aptitude test that Tata Technologies, KPIT, Bajaj Auto and Mahindra use to screen freshers. The good news is these are learnable in a focused session. The video linked at the top follows each command live and uses a real-world shaft assembly as the worked example. This article adds the conceptual explanation — the why — that turns commands into understanding. Work through both, pause the video to replicate each step, and you'll finish with a complete drawing package you can submit as a portfolio sample.
Creating Section Views: Full, Half and Offset in AutoCAD Mechanical
A section view removes one half (or a defined portion) of a part to reveal internal geometry: threads, bores, counterbores, keyways, internal pockets. To create a full section in AutoCAD: draw the cutting-plane line, then use BHATCH with ANSI31 pattern (45°, scale 1.0 for steel) to hatch the cut area. For a half-section on a symmetric part, define a boundary polyline for one quadrant before applying the hatch. Offset sections use a jogged cutting-plane line to capture features not in a single plane — create the offset polyline first, then BHATCH each segment's cut region. What most people don't realize is that correct cutting-plane symbol style (ANSI vs ISO arrowhead) matters as much as the hatch pattern — a recruiter who spots the wrong arrowhead knows you've been copying from a template rather than understanding the standard. Practice the half-section on a simple shaft before any interview; the boundary selection trips up almost every beginner the first time.
| AutoCAD Skill Area | Tutorial Part | Recruiter Test Frequency | Salary Impact |
|---|---|---|---|
| 2D Draw & Edit Commands | Part 1 | Always tested | Base entry level |
| Layers, Blocks, XREFs | Part 2 | High | +10–15% over no-CAD |
| Section Views | Part 3 | Very high | +15–20% |
| Assembly Drawing & BOM | Part 3 | High | +20% |
| GD&T Tolerances | Part 3 | Medium–High | +25% |
| Professional Plotting | Part 3 | Medium | Required for all roles |
Assembly Drawings with XREF, Balloon Callouts and Parts Lists
An assembly drawing in AutoCAD brings multiple part files together in a single layout. The professional workflow uses XREFs rather than plain INSERT blocks — when you revise a component, the assembly drawing updates automatically. Attach each part using XATTACH, then position them precisely with MOVE and ROTATE using OSNAP Endpoint and Midpoint snaps to align mating surfaces. Once assembled, add balloon callouts using the MLEADER command with a circle-and-number leader style. Link balloon numbers to a Parts List table created with the TABLE command. Using XREF-based assemblies also means the transition to SolidWorks or CATIA is smoother — parametric CAD uses the same reference-assembly logic. This workflow mirrors what design engineers at Tata Technologies Pune, KPIT Hinjewadi, Bajaj Auto Akurdi (164+ openings) and Bosch Nashik use on production projects every day.
Applying Dimensional Tolerances and GD&T Symbols
Tolerances tell the shop floor how much variation is permissible in a manufactured dimension. In AutoCAD, apply limits-fit tolerances through the DIMSTYLE Manager: under Primary Units, set Tolerance method to Limits and enter upper and lower deviations — for example, a 25 mm shaft with h6 fit gets +0.00 / -0.013 mm. For GD&T geometric tolerance frames, use the TOLERANCE command (DT shortcut). The dialog lets you select the characteristic symbol, tolerance value, material condition modifier, and datum references. Common symbols to practise: flatness (no datum required), parallelism (needs a datum plane), total runout (needs a datum axis). AutoCAD follows ISO 1101 conventions, making drawings directly readable by quality engineers at Endurance Aurangabad, Bajaj Waluj or any Tier-1 auto-components firm in the Pune-Nashik-Sambhajinagar corridor.
Professional Plotting: Page Setup, Title Blocks and Batch Print
A drawing that looks right on screen but prints with missing lines or wrong scale is useless on the shop floor. Always plot from a Layout tab — never from Model space — so title block, border and drawing content all scale correctly. In Page Setup, set Plot Style Table to monochrome.ctb for black-and-white output; colour plots waste ink and reduce line contrast on shop prints. Before submitting any drawing package, run AUDIT then PURGE to remove dead layers, blocks and styles — this reduces file size and prevents DWG corruption. Use PUBLISH for batch-plotting multiple layout sheets: set this up once as a named Page Setup and reuse it on every project. This is the drawing-release workflow used at L&T, Godrej and Mahindra, and it's what production and QA teams mean when they ask for a clean drawing package.
Maharashtra's CMYKPY scheme provides ₹6,000–₹10,000/month stipend to eligible students during certified skill training. Your AutoCAD enrolment at ABC Trainings may qualify — contact our Pune or Sambhajinagar centres at +91 7039169629 or WhatsApp 7774002496 to check eligibility and start the application.Get the CAD/CAM Brochure + Fees + Batch Dates on WhatsApp
Free 1:1 counselling. Placement track record. CMYKPY/PMKVY eligibility check.
💬 Get Brochure on WhatsApp📞 Call 7039169629About the author: Rahul Patil. 12 yrs experience training engineers across Maharashtra.
Visit Our Centers
- Wagholi (Pune): 1st Floor, Laxmi Datta Arcade, Pune-Ahilyanagar Highway. Call 7039169629
- Hadapsar (Pune HQ): 1st Floor, Shree Tower, opp. Vaibhav Theater, Magarpatta. Call 7039169629
- Cidco (Chh. Sambhajinagar): Kalpana Plaza, opp. Eiffel Tower, N-1 Cidco. Call 7039169629
- Osmanpura (Chh. Sambhajinagar): S.S.C Board to Peer Bazar Road, near Jama Masjid. Call 7039169629
- Sangli: Shubham Emphoria, 1st Floor, Above US Polo Assn., Sangli-Miraj Rd, Vishrambag. Weekend batches available. Call 7039169629
FAQs
What does Part 3 of the AutoCAD for Mechanical Engineers series cover?
Part 3 covers five production-critical skills: full, half and offset section views; assembly drawing setup using XREF; balloon callouts and parts-list tables; dimensional tolerances with limit-fit notation; and GD&T frames for flatness, parallelism and runout. It builds directly on the 2D drafting and layer management skills from Parts 1 and 2 — complete those first.
Do I need SolidWorks if I already know AutoCAD for 2D drawings?
They serve different purposes. AutoCAD is the production-drawing standard — every manufacturing firm in Pune and Sambhajinagar uses it for 2D detailing and engineering change orders. SolidWorks handles 3D parametric modelling. The practical path is AutoCAD first (for entry jobs at ₹2.2–3.5 LPA), then SolidWorks or CATIA for a step-up to ₹4–7 LPA at firms like Bajaj, Tata Tech and KPIT.
What salary can I expect after completing AutoCAD training in Pune?
A fresher with AutoCAD skills including section views and assembly drawings typically enters at ₹2.2–3.2 LPA at Tier-2 auto-components firms. Adding SolidWorks within 12–18 months moves that to ₹4–6 LPA at Bajaj Auto Akurdi (164+ openings), Mahindra Ranjangaon or Tata Motors Ranjangaon. Source: AmbitionBox and PayScale India, 2025.
Where can I join AutoCAD training near Pune or Sambhajinagar?
ABC Trainings runs AutoCAD for Mechanical Engineers batches every month at Wagholi Pune, Hadapsar Pune, Cidco Sambhajinagar and Osmanpura Sambhajinagar. Weekend and weekday batches available. Call +91 7039169629 or WhatsApp 7774002496 for the next batch schedule and fee details.