
How to Place Doors and Windows in Revit: Step-by-Step Tutorial for Architecture Students (2026) (Updated October 2026) (Updated October 2026)
Revit door and window placement is one of the first hands-on skills every architecture and civil engineering student learns in BIM training — and it is simpler than most people think once you understand the Architecture tab and Properties panel workflow. This tutorial is grounded in ABC Trainings' own step-by-step demonstration video, which walks through the exact process: opening the Architecture tab, selecting door and window types from the Properties panel, placing them in your model walls, and adjusting opening direction and orientation. Maharashtra BIM training demand is rising rapidly — the MoHUA BIM mandate now applies to all government projects above Rs 100 crore, creating certified Revit demand across L&T, AECOM and PWD Maharashtra.
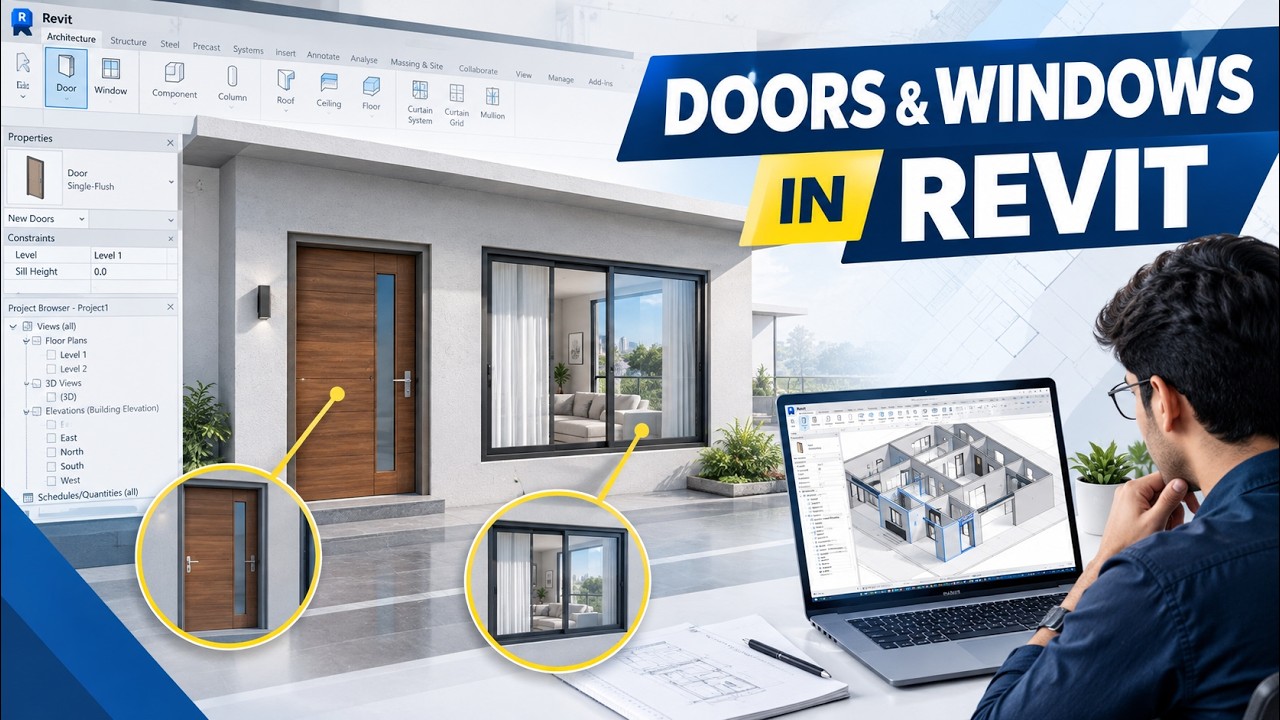
- Open Architecture tab in Revit to access Doors and Windows placement tools
- Use Properties panel to select from available door and window types
- Click on a wall to place the element; flip arrows appear immediately for orientation
- Change door/window direction by clicking the flip arrows before or after placement
- Practice with ABC Trainings Revit course — batch at Hadapsar, Wagholi, Sambhajinagar centres
Step 1 — Opening the Architecture Tab in Revit to Access Door Tools
To place doors or windows in Revit, you must start from the Architecture tab — this is the tab where all architectural elements live, including walls, floors, roofs, doors and windows. Open a floor plan view in your project, then click the Architecture tab at the top of the ribbon. You will see the Build panel appear with Door, Window, Component and other tools. Click Doors to enter door placement mode. Revit will highlight the cursor and wait for you to click on a wall.

Step 2 — Selecting Door Types from the Revit Properties Panel
Once you click Doors, the Properties panel on the left shows all door types loaded into your project. The transcript from ABC Trainings' demonstration shows the trainer selecting from multiple available types — including half-inch panel doors and flush doors. What most beginners do not realise is that you can also load additional door families from the Revit library using Load Family if the type you need is not listed. Click the type you want in Properties before placing — the cursor will preview the selected door as you hover over walls.
| Step | Action | Where to Find It |
|---|---|---|
| 1 | Go to Architecture tab | Top ribbon of Revit window |
| 2 | Click Doors or Windows | Build panel in Architecture tab |
| 3 | Select type from Properties | Left-side Properties panel, Type Selector |
| 4 | Click on a wall | In the floor plan view |
| 5 | Adjust with flip arrows | Appear on placed element on click |
Step 3 — Placing Doors in Revit Walls and Setting Opening Direction
Click on a wall where you want the door to appear. Revit places the door immediately. Two flip arrows appear — one to flip the door's swing direction (which way it opens), and one to flip its face direction (which side of the wall the hinge is on). Click these arrows before confirming placement if you need to adjust. The door automatically cuts the wall opening and adds the swing arc in plan view. Press Escape or click Modify when done placing.

Step 4 — Placing Windows in Revit Using the Same Architecture Tab Workflow
After placing doors, switch to Windows in the same Architecture tab. The process is identical — select Windows, choose a type from Properties (the trainer in ABC Trainings' video shows selecting between window types like single-hung, casement and fixed), then click on a wall above the sill height. Revit places the window with the cut opening and elevation symbol automatically. You do not need to draw the opening manually — Revit handles the parametric relationship between the window family and the host wall.
Step 5 — Changing Window Type and Direction After Placement
After placing a window, you can still change its type using Properties: select the window, then use the Type Selector in Properties to switch to a different window family without deleting and redrawing. Orientation flips the same way as doors — use the flip arrows that appear on selection. The good news is that once you understand this workflow for one element type, it applies to all hosted families in Revit: doors, windows, casework, and openings all follow the same click-on-host logic.
Common Mistakes When Placing Doors and Windows in Revit
The most common mistake beginners make is trying to place doors or windows outside of a wall — Revit will not allow it because these are hosted families. If your placement fails, check that you are hovering directly over a wall (it should highlight blue). A second common error is not checking the door swing direction before placement — always flip to the correct swing before clicking, since editing it later in a crowded plan requires re-selecting the element. Trust me: spend 10 seconds checking orientation at placement and you will save 10 minutes of cleanup later.
Why Revit Door and Window Placement Skills Matter for Your Architecture Career
Placing doors and windows correctly in Revit is a foundational skill for architecture, civil and MEP coordination workflows. In a real BIM project, every door and window carries data — type, dimensions, fire rating, material specification — that feeds directly into schedules and quantity takeoffs for L&T, AECOM and PWD project deliverables. The MoHUA BIM mandate for projects above Rs 100 crore means certified Revit competency is now a hiring requirement at Maharashtra's largest infrastructure employers. Mastering this skill is your entry point to BIM project roles at Rs 4-8 LPA starting, growing to Rs 10-18 LPA with 2-3 years of project experience.
Learn Revit BIM at ABC Trainings: Course Details and Batch Schedule 2026
ABC Trainings delivers Revit BIM certification training at Hadapsar (Pune HQ), Wagholi, Sambhajinagar CIDCO, Osmanpura and Sangli Vishrambag. The AI Powered BIM course covers Revit architecture modelling, family creation, sheets, schedules and coordination workflows used in real L&T and AECOM projects. Batch duration: 3-5 months, weekend batches available. Fees: Rs 18,000-30,000 depending on course depth and centre. Call 7039169629 or WhatsApp 7774002496 for the next batch date.
CMYKPY (Chief Minister Yuva Karya Prashikshan Yojana) offers Maharashtra government stipends of Rs 6,000-10,000 per month for approved skill training including BIM and Revit courses. Eligible students at ABC Trainings Sambhajinagar, Sangli, Hadapsar, Wagholi and Latur centres can apply — ask at enrolment.Get the BIM Brochure + Fees + Batch Dates on WhatsApp
Free 1:1 counselling. Placement track record. CMYKPY/PMKVY eligibility check.
💬 Get Brochure on WhatsApp📞 Call 7039169629About the author: Komal Chilwar, Civil & BIM Trainer, ABC Trainings.
Visit Our Centers
- Wagholi (Pune): 1st Floor, Laxmi Datta Arcade, Pune-Ahilyanagar Highway. Call 7039169629
- Hadapsar (Pune HQ): 1st Floor, Shree Tower, opp. Vaibhav Theater, Magarpatta. Call 7039169629
- Cidco (Chh. Sambhajinagar): Kalpana Plaza, opp. Eiffel Tower, N-1 Cidco. Call 7039169629
- Osmanpura (Chh. Sambhajinagar): S.S.C Board to Peer Bazar Road, near Jama Masjid. Call 7039169629
- Sangli: Shubham Emphoria, 1st Floor, Above US Polo Assn., Sangli-Miraj Rd, Vishrambag. Weekend batches available. Call 7039169629
FAQs
How do you place a door in Revit step by step?
To place a door in Revit: open the Architecture tab, click Doors in the Build panel, select the door type from the Properties panel on the left, hover over a wall (it will highlight blue), then click to place. Use the flip arrows that appear to set the opening direction and swing. Press Escape when done.
Can you change the direction of a door or window after placing it in Revit?
Yes. Select the placed door or window, and flip arrows appear next to the element. Click the arrows to reverse the swing direction (which way it opens) or the face direction (hinge side). You can also change the type using the Type Selector in Properties without deleting and redrawing.
What is the difference between placing a door in Revit vs AutoCAD?
In Revit, doors and windows are parametric hosted families — you click on a wall and Revit automatically creates the wall opening, door panel, swing arc and all dimensions. In AutoCAD, you draw the opening manually, block the door symbol separately, and manage dimensions yourself. Revit's approach is faster for BIM projects because every door carries schedule data (dimensions, fire rating, material) that feeds automatically into project documents.
Is ABC Trainings Revit course better than online tutorials for learning BIM?
ABC Trainings is better for students who need project-based practice, trainer feedback and a certificate recognised by Maharashtra employers like L&T and AECOM. Online tutorials teach individual commands but cannot give you a complete BIM project workflow with real coordination exercises. ABC Trainings' Revit batches include working on actual project files similar to what L&T and AECOM use — that is what recruiters look for, not just a certificate.